Spectrophotometers are invaluable to many industries, ranging from the food to plastics industries and beyond, delivering the color consistency necessary to streamline supply chain efficiencies and maximize product quality. The key to ensuring reliable performance and color measurement quality is knowing how to properly maintain a spectrophotometer.
What Is the Function of a Spectrophotometer?
A spectrophotometer scientifically measures the color of materials using a light source, wavelength-selective optics, sensors, and software to convert emitted energy to an industry-standard color scale. This measurement enables companies to verify the quality and consistency of their products, ingredients, and raw materials. The device mimics how the human eye sees color but eliminates error-prone manual visual observations for higher accuracy.
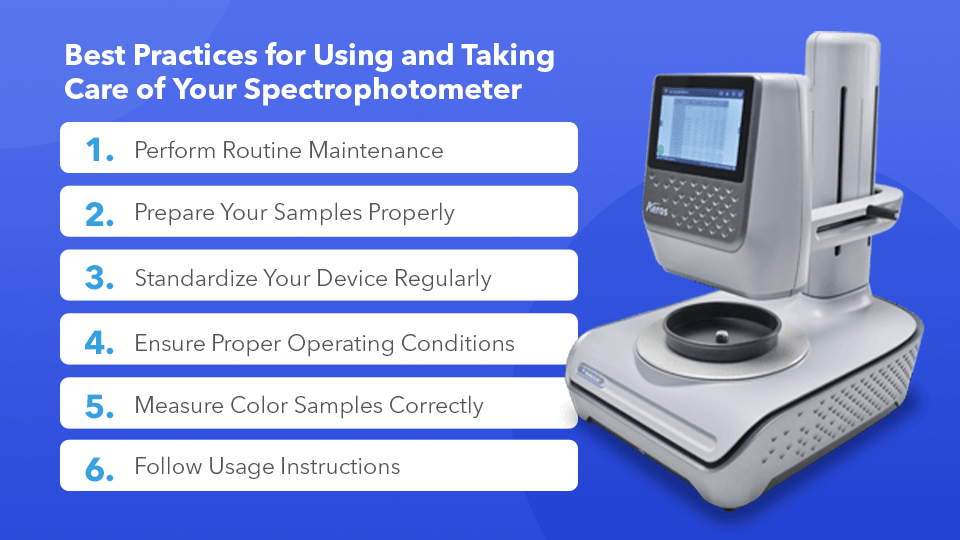
Best Practices for Using and Taking Care of Your Spectrophotometer
Spectrophotometers must undergo the proper routine maintenance to deliver the most precise and accurate measurements. With the right standardization and care, you can ensure your color spectrophotometer performs at its best.

1. Perform Routine Maintenance
A well-maintained device provides the most accurate and reliable readings. Maintenance begins with a thorough cleaning. No matter how well-calibrated your device is, it won’t deliver accurate or consistent readings if it isn’t clean. That’s why it’s vital to ensure your spectrophotometer is free of dirt, dust, grime, and other contaminants that can obscure measurement results.
When cleaning your equipment, it’s crucial to follow the best practices outlined in your user manual to avoid damaging the device and invalidating your warranty. Avoid using any harsh or abrasive tools or substances when cleaning your spectrophotometer.
Cleaning frequency varies based on the components. The exterior of the sensor and mounting generally require weekly cleaning. If your work involves messy samples that contact the sensor, you may also have to clean between measurements.
You should also consider your environment when determining cleaning frequency. For example, a unit stored in a dusty, poorly ventilated closet will require more routine cleanings than one contained in an air-conditioned office.
Other routine maintenance checks include:
- Inspecting and cleaning the power cord
- Verifying the optics are clean and in good condition
- Testing general structures like the device touch screen or buttons
Beyond these general checks, each model operates differently. Check the owner's manual for additional maintenance procedures specific to the device.


